Flags
There were three types of flags flown at the old Yankee stadium;
American flags, the city of New York flag and team flags. The team
flags were displayed in the order of current division ranking, with
AL east teams displayed in right field and AL west teams in left.
How
to make and install flags
Due
to limitations in the 3D printing process, it's not possible for
Shapeways to create the flag poles and flags as part of the
manufacturing process. Fortunately, it's fairly easy to make and
install the flags.
What
You Will Need
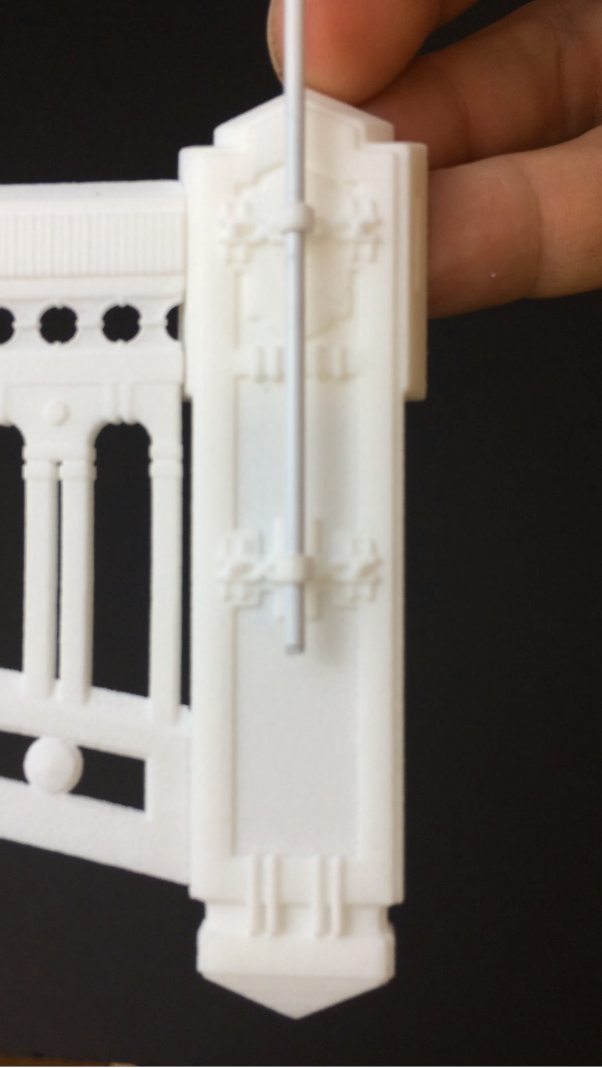
The
Flag Poles
The
facade stanchion pieces are designed to accept a 5/64 diameter rod.
These are most easily obtainable in the form of white coat hangers
available at your local dry cleaners, or dollar store.
You
can make two flag poles from a single hanger.
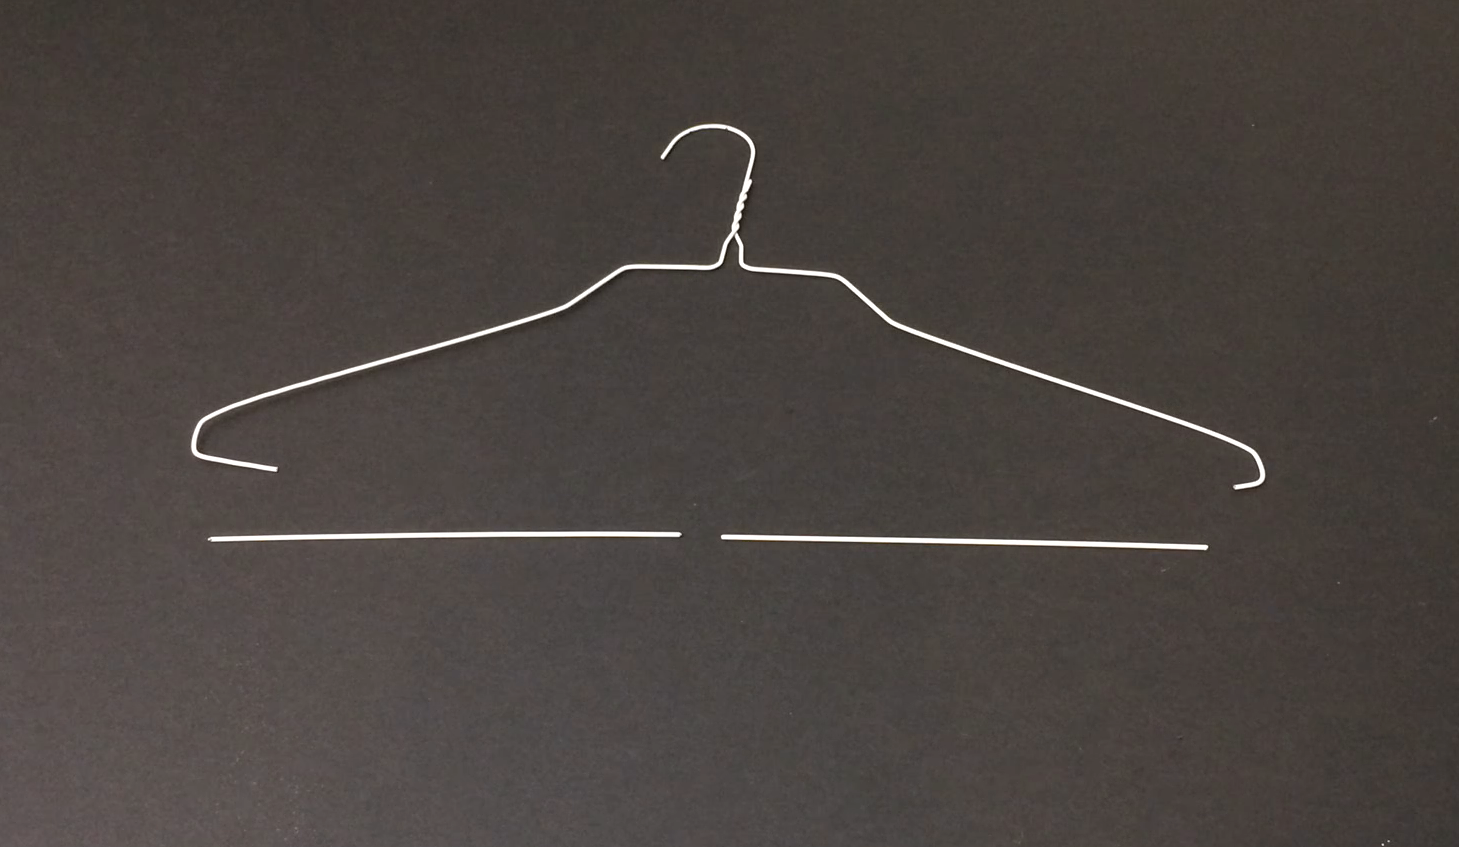 You can get two flag poles per hanger - cut as shown, measure two 7-3/4" sections.
You may want to de-burr the cut edges of the
rods with an emery board or a file, then use the white touch up
paint, or white-out on the ends and set aside to dry (repeat for as
many flags as desired).
The Flags
To make the flags, download and print the PDF flag sheet - found here -
on 8-1/2x11" inkjet printer fabric stock. The PDF has all of
the team flags that were used when the stadium closed for renovation
in 1973 and 12 American flags.
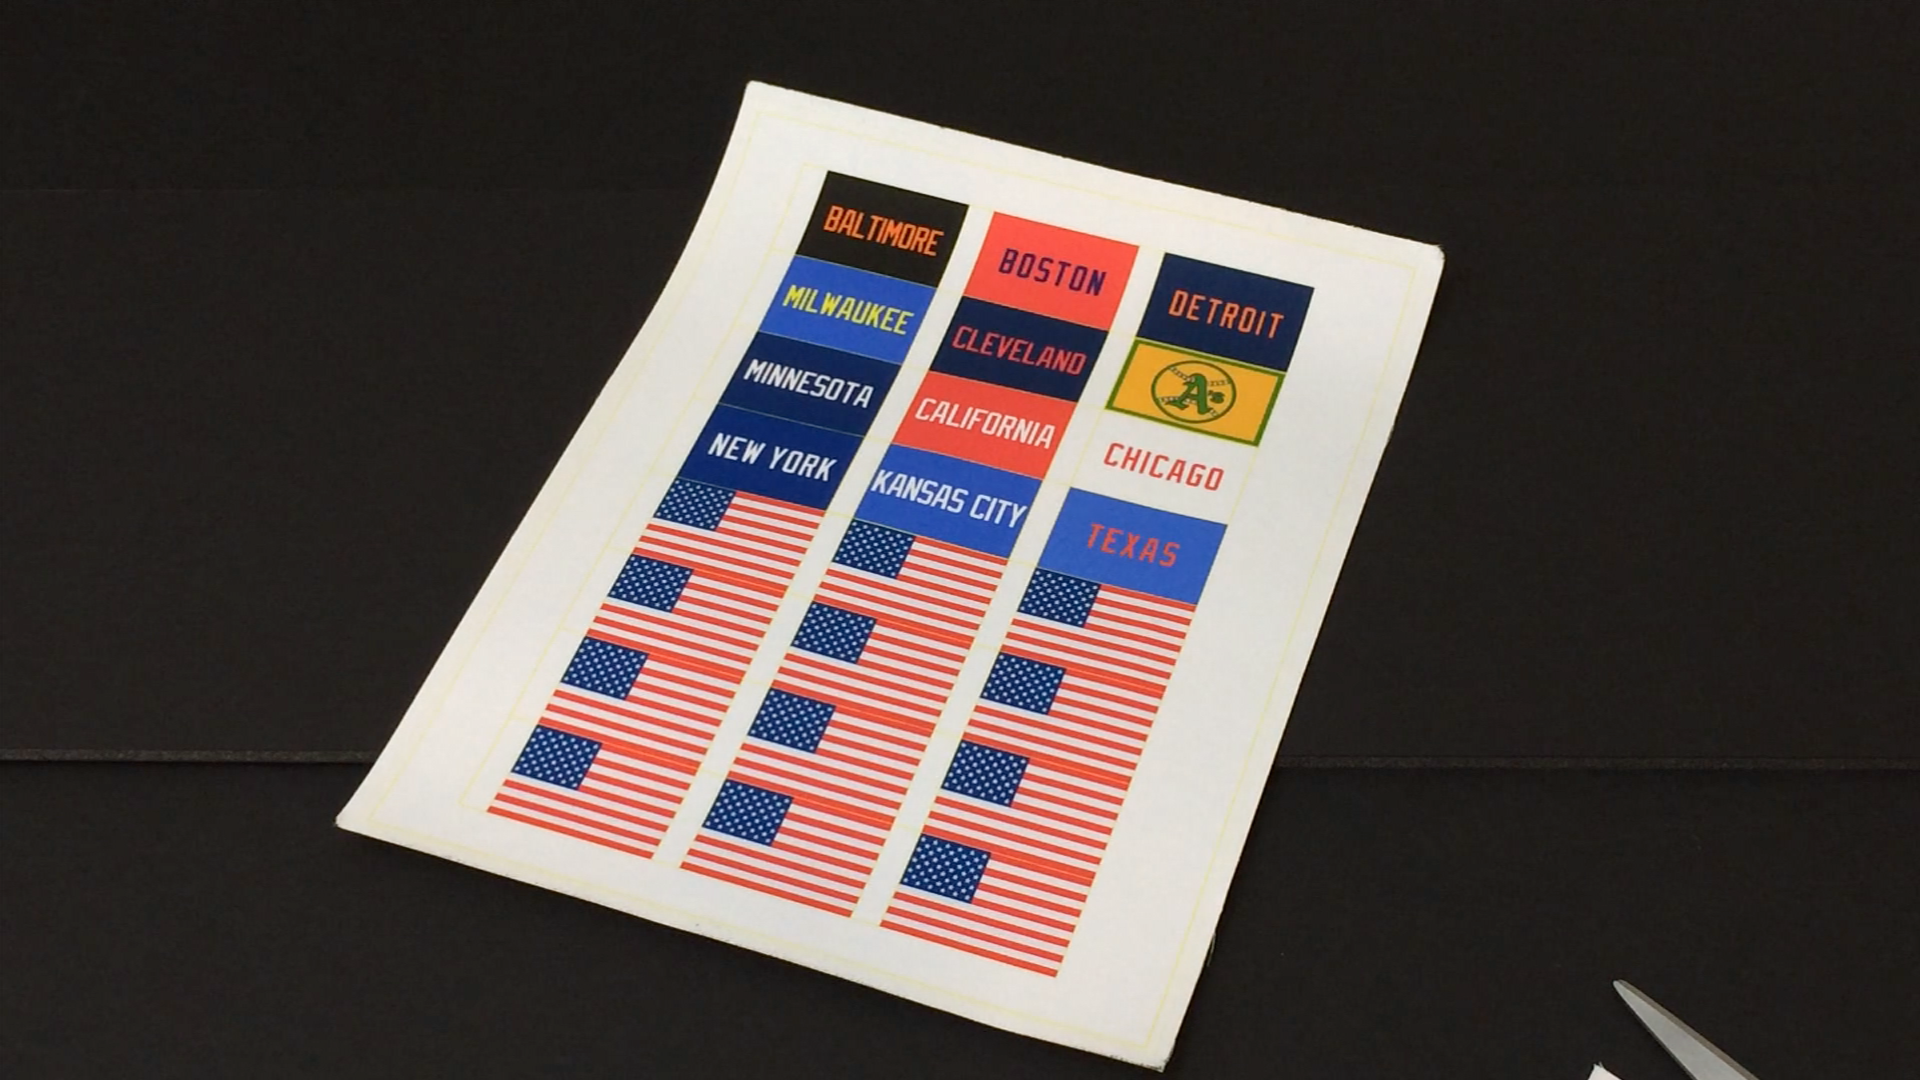
Printed flags from PDF.
Cut
the flags along the yellow lines (see photo), making sure to leave
the space at the left side of the flag. This is used to attach the
flag to the pole. Make sure you have a sharp pair of scissors.
Otherwise the cloth will simply fold around them.

Sharp scissors are a must.
Apply contact cement (I prefer to use the type you paint on rather than the
aerosol type) to the white area on the left side of the flag.
Next,
apply contact cement to the corresponding section of the flag pole
(pick whichever end you want to be the top). Let the cement dry on
both the flag and pole.
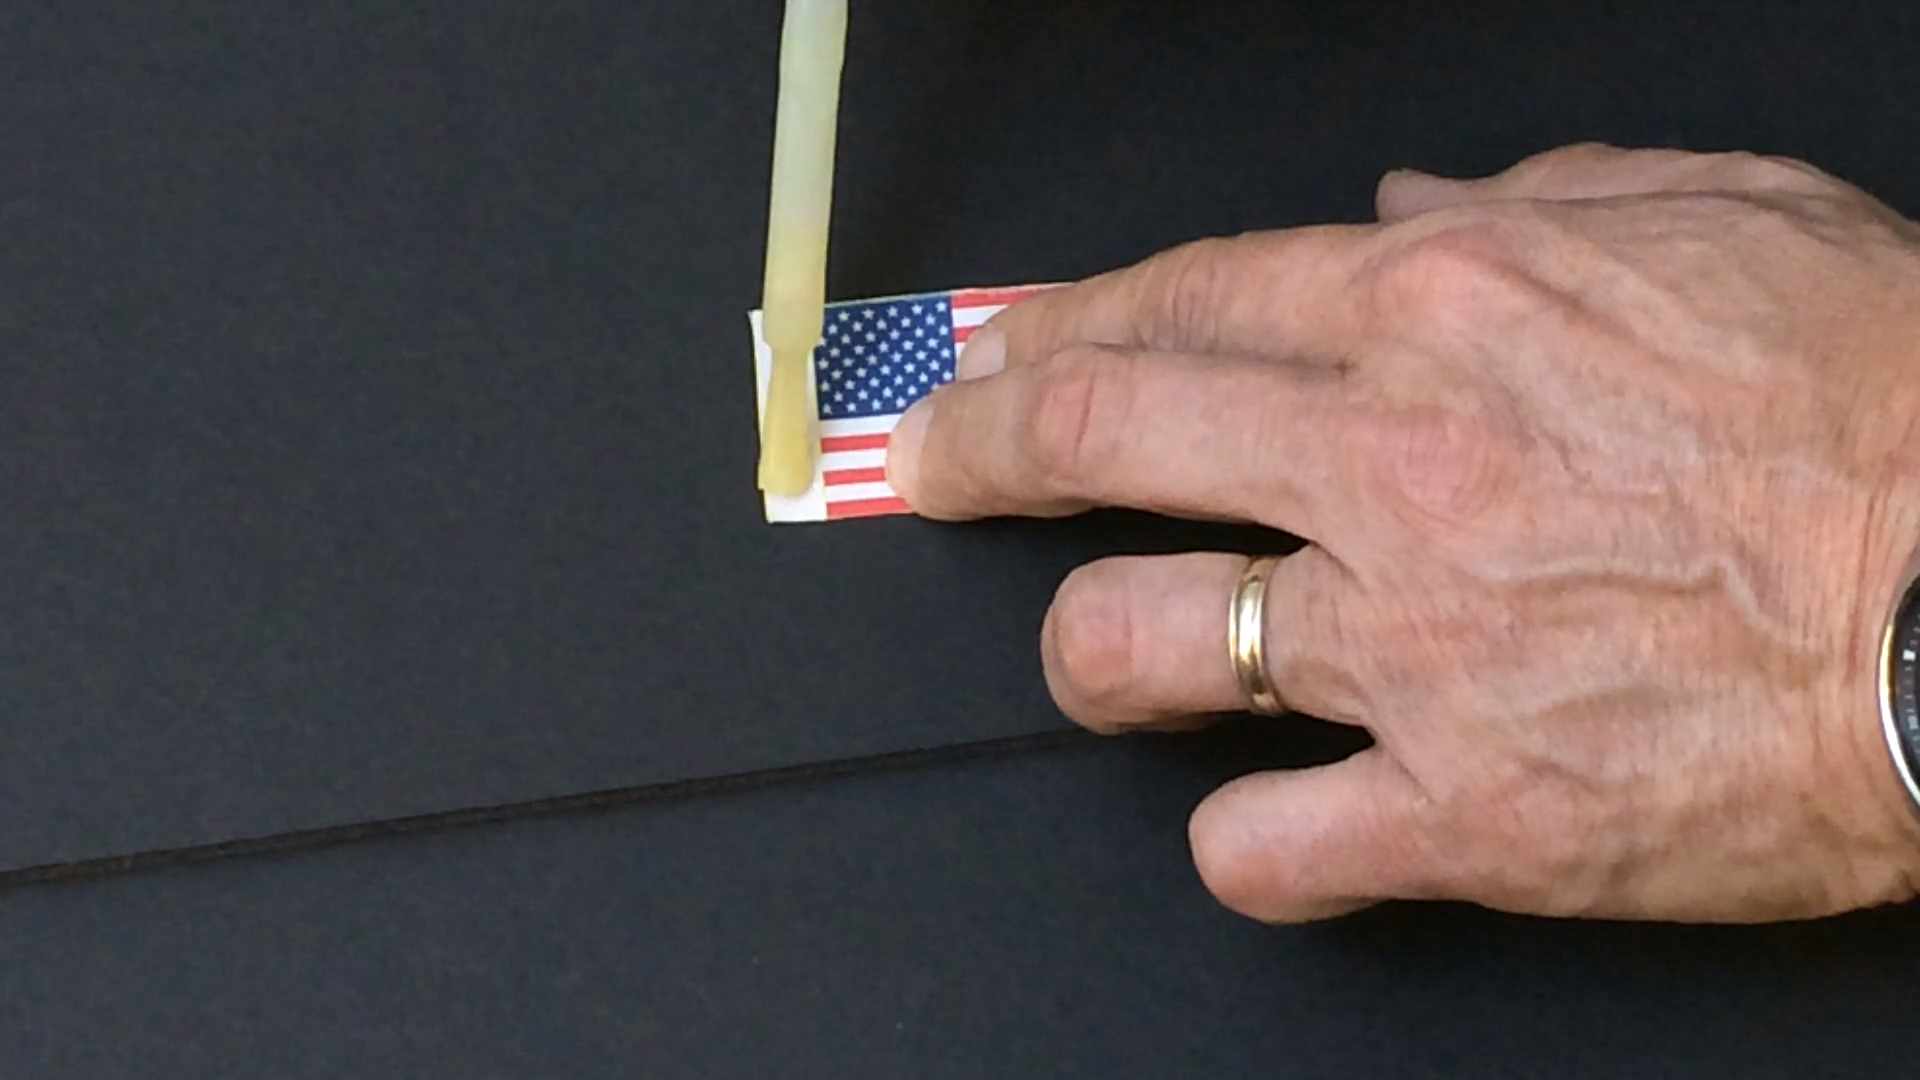
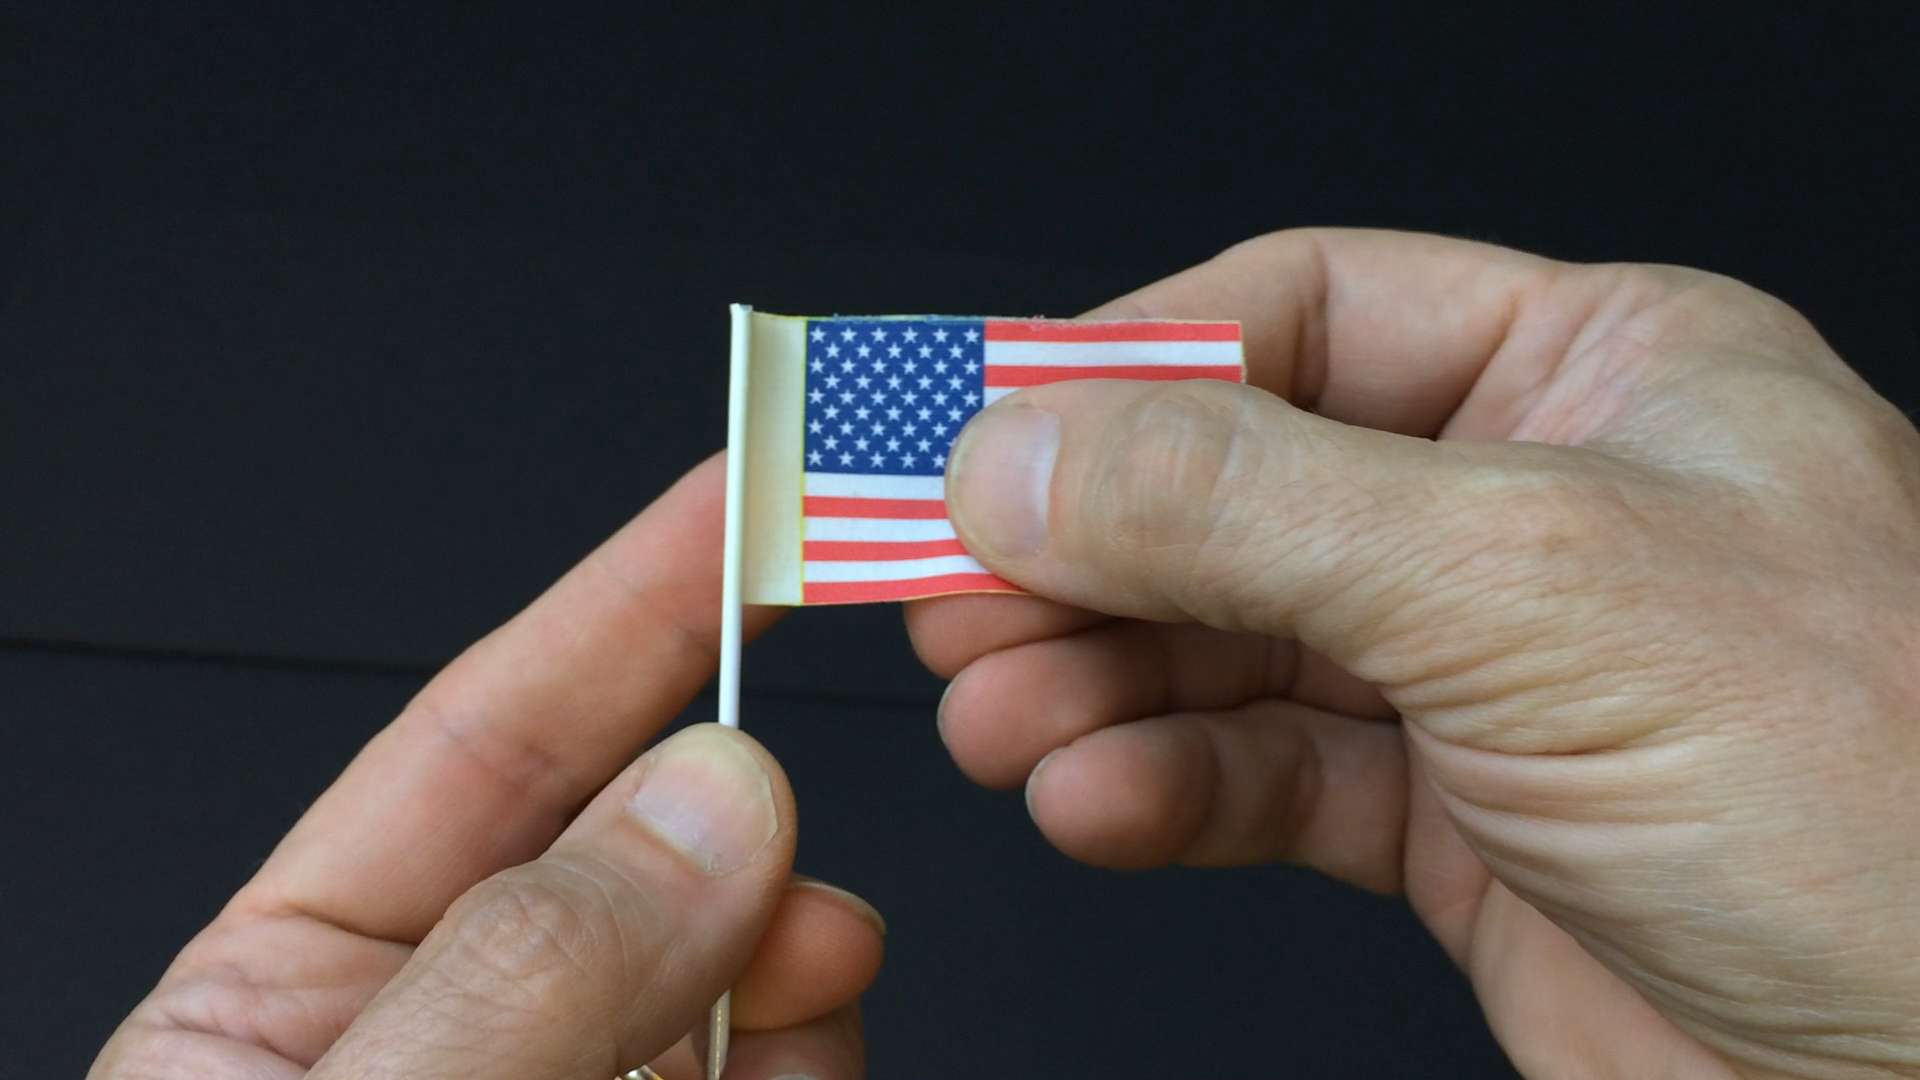
When
the cement has dried (should only take a few minutes) hold the pole
in one hand and the flag in the other (see illustration) and align
the edge of the flag with the pole.

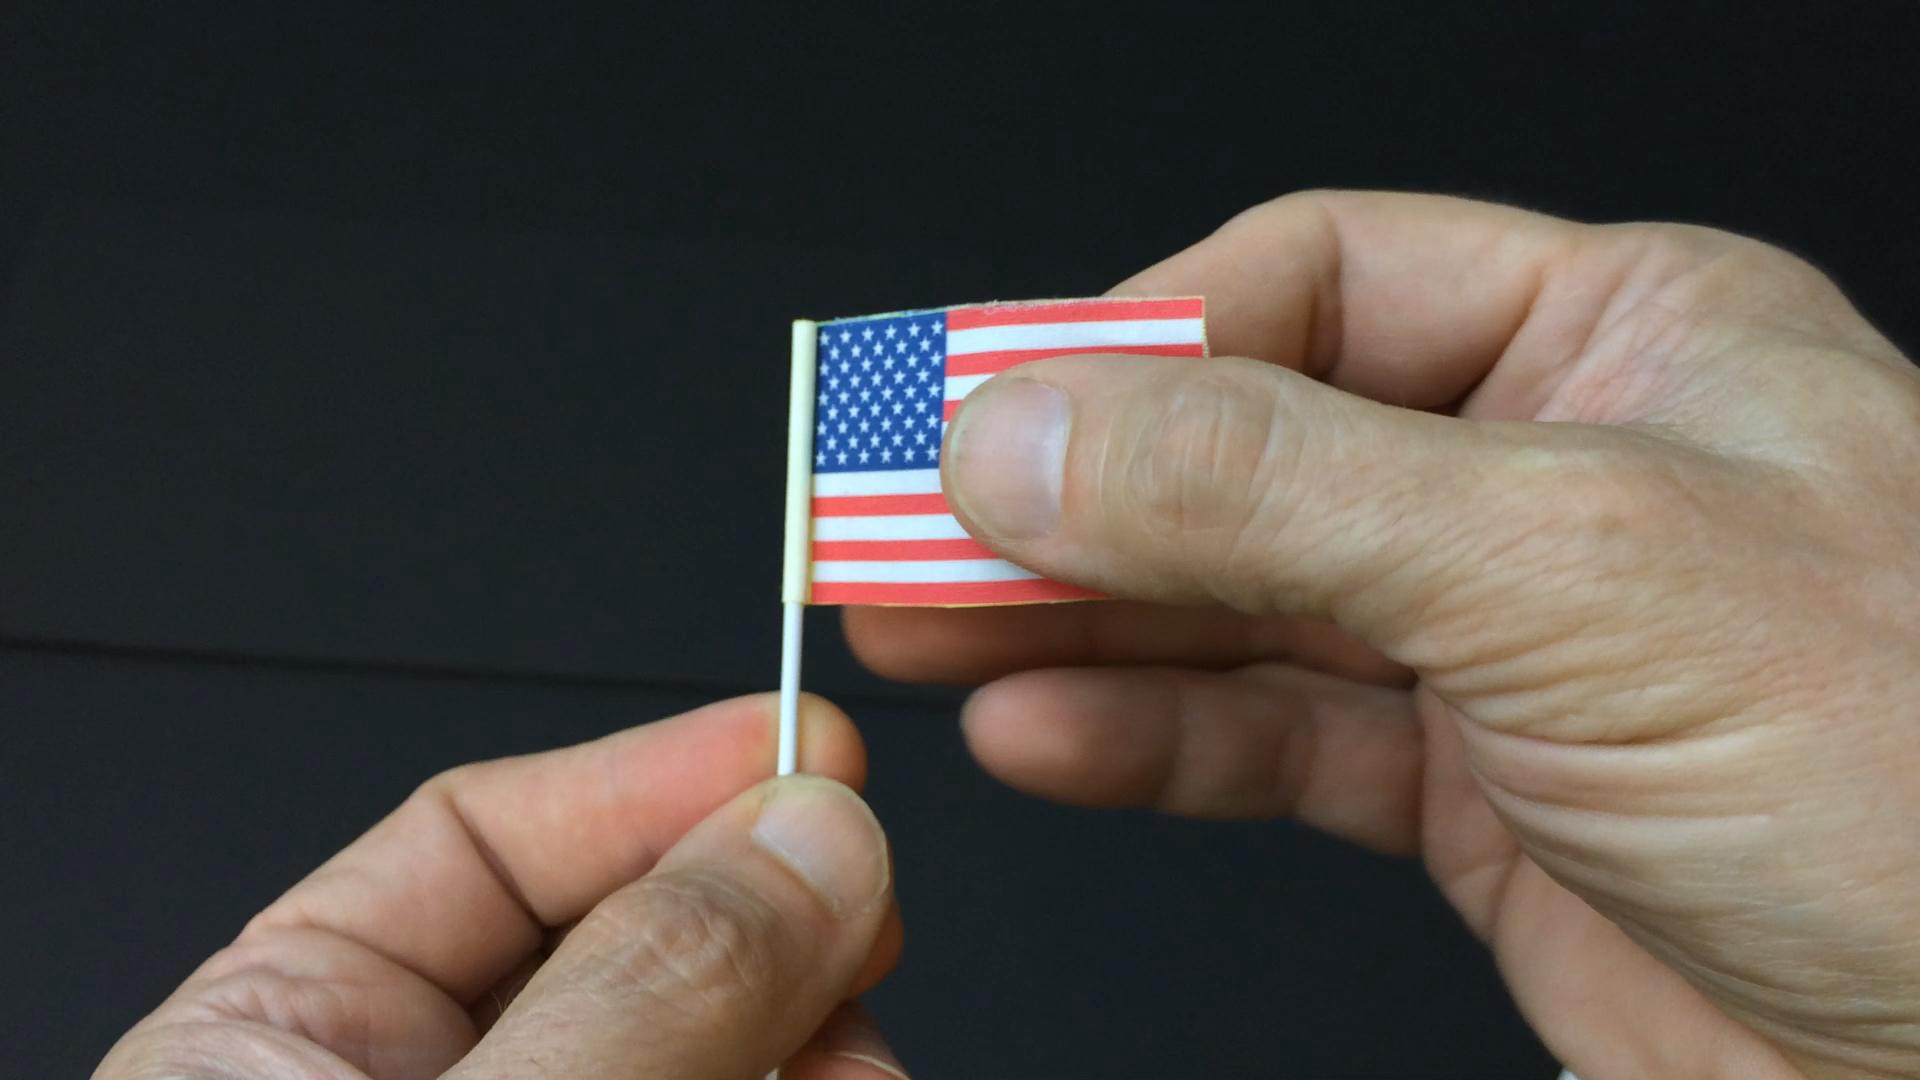
Let
the edge of the flag make contact with the pole (it should stick).
Run your index finger down the edge of the flag to make it adhere to
the pole. Gently rotate the flag pole on it's axis, maintaining a
little tension so the flag wraps tightly around the pole.

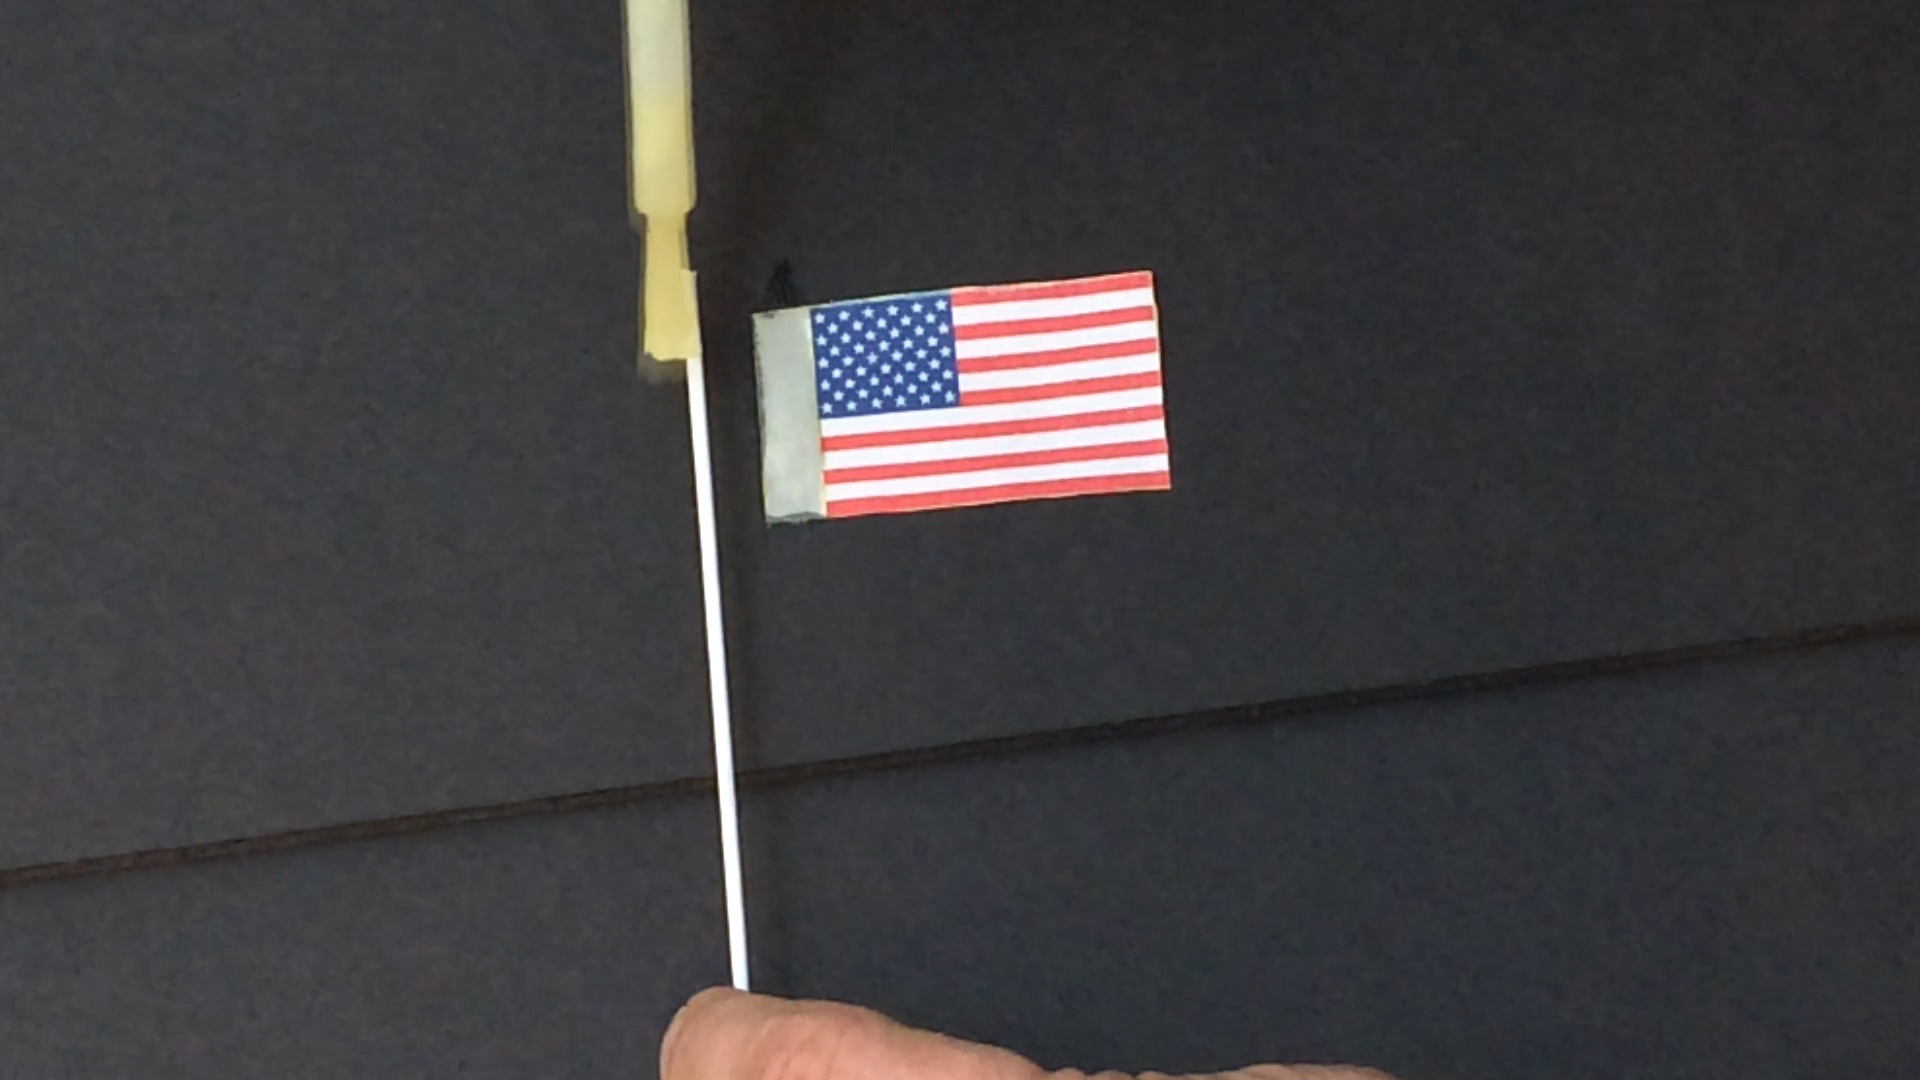
At
this point you can play with the flag a little to get it display the
way you want it. Some of the cloth printing material can fray. if
this happens, cut the threads (don't pull on them).
Installing the flags
I
prefer to install the flags after the facade has been mounted. This
makes for a more stable platform to work with and makes it easier to
mount longer facade sections.
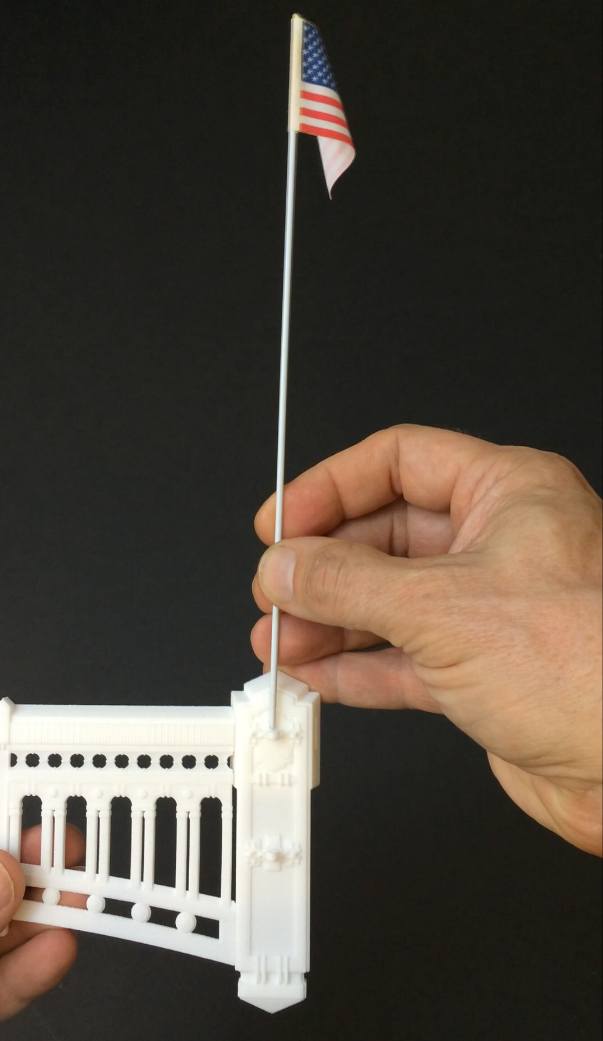
Take
a flag in one hand, holding it around three inches from the bottom of
the pole. Gently feed the bottom of the flag pole into the first
ring on the facade stanchion, rotating the pole along it's axis back
and forth has you push down on the pole.
There
will be some initial resistance, and then it should smoothly pass
though the first ring (try and keep the pole vertical as you thread
it through). Continue to push the flagpole down until you make
contact with the second ring.
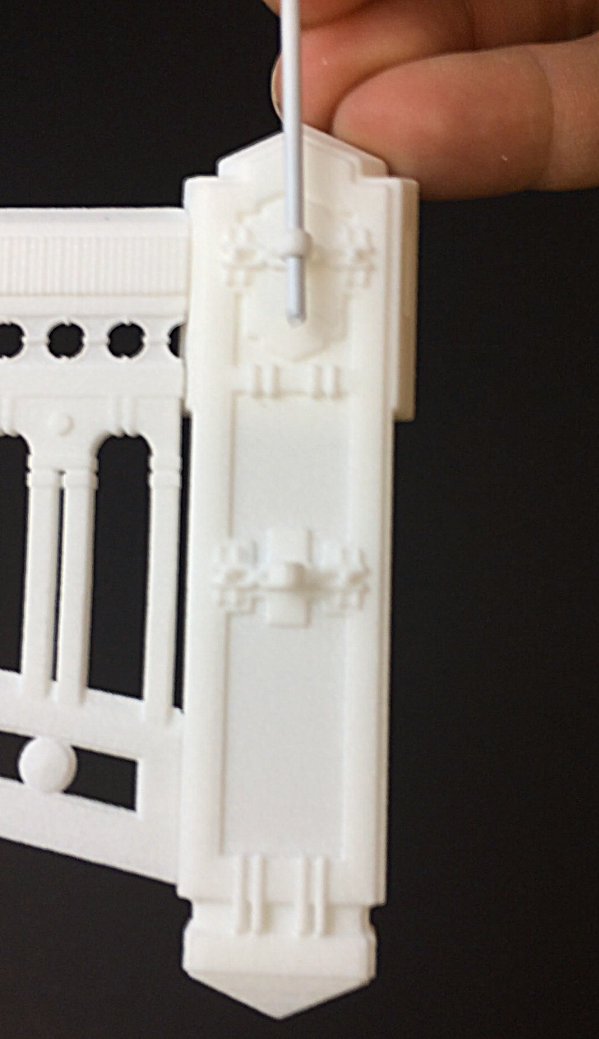
It
should go through easily. Continue to push the pole through the
second ring to a distance of 1/8". Rotate the flag pole as
needed to get the flag displayed the way you want it. The flags are
one sided, so they always fly from left to right.
That's
it. Repeat for as many flags as you need.
Note:
I've encountered some coat hangers that use a slightly smaller
diameter wire, or have fewer coats of paint on them. These will not
be held tightly by the rings on the stanchion and will eventually
drop down. You can try painting these with some glossy modeling paint
to bring them to the correct diameter


